How to Draw a Line in Gimp on Mac
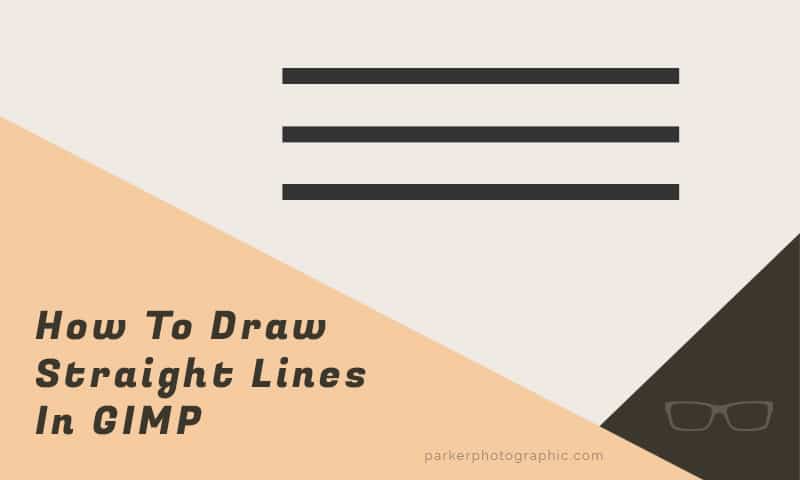
How To Draw Straight Lines in GIMP
If you're just finding out or already discovered that GIMP doesn't have Shape or Line Tools, you're in the right place.
Previously, I showed you how to create dozens of shapes, and how to download 27 premade, hi-res shapes for your graphic design projects.
Today, I'm going to show you how to draw a straight line with GIMP, create curved, dotted + dashed lines, and more!
If you're ready… let's do it!
Table of Contents
Quick Start Guide For Creating a Straight Line With GIMP

Note: images, with lines, are zoomed in at 550%!
- Grab a painting device like the Paintbrush or Pencil
- Set the Tool Options for the drawing device to have a hard edge. Unless you want the edge feathered. Also, don't forget to set the brush size.
- Hold down your Shift key and click once (on your canvas) to create the beginning of your line. Continue holding down the Shift key.
- Now, move your mouse to another position where you'd like the line to end. As you do, you'll see a straight "guide" line appear as you move the mouse. This gives you a visual cue of the angle of the line.
- Next, click again to create the endpoint. A line will be drawn between the two places you clicked with your mouse button.
In summary: Shift key + hold, click, move, and click again. Easy-Peasy.
Step-by-Step Instructions for Drawing Lines In GIMP
In the QuickStart tutorial (above), you learned how to quickly create a line. Let's dive into creating a line with a little more detail and a new trick or two. In GIMP, you can create lines with a variety of paint options. Such as…
- The Paintbrush (P)
- Pencil (N)
- Airbrush (A)
- Calligraphy Tool or Ink Tool (K)
- Dodge and Burn (Shift key + D)
- Smudge (S)
I'll first demonstrate how to create them via my drawing tool of choice, the Paintbrush. Then, I'll show you how to create lines that are more practical with the Paths Tool.
Paintbrush Tool
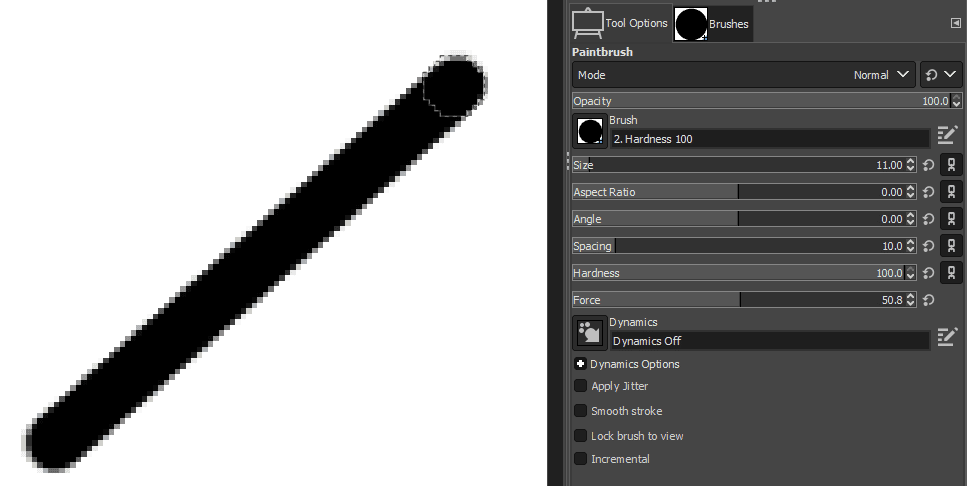
Click the above or below image to enlarge.
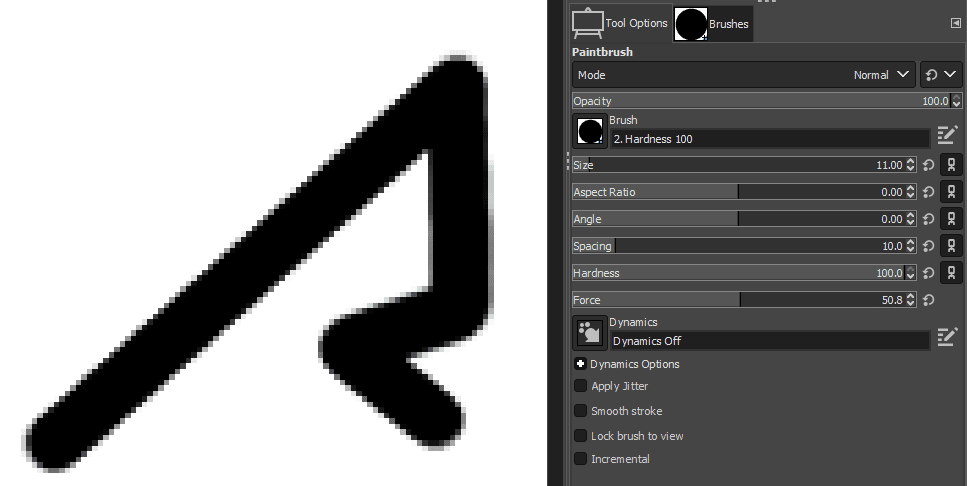
There might be times when you're creating an illustration or other types of paintings that require the creation or use of a straight line (at an angle). Any one of the paint tools mentioned above can be used with the following tactic.
With the Paintbrush tool selected (P), hold down the Shift key again, and click once on your canvas to create the starting point.
Next, release the Shift key and then hold it down again before clicking anywhere on your canvas. After clicking again it will join the two points where you clicked.
This method is different from the steps provided in the QuickStart section. If you need a perfect horizontal or vertical line, then the first method works best in that regard. If not, then use this method.
There's an added benefit to this option too. Go back to your canvas and click anywhere on it.What happened? A new line was created in the new location you clicked, and it's joined with the previous endpoint!
This is a great way to create custom shapes in GIMP. Oh, and check out this guide on more details about creating shapes with GIMP.
Paths Tool
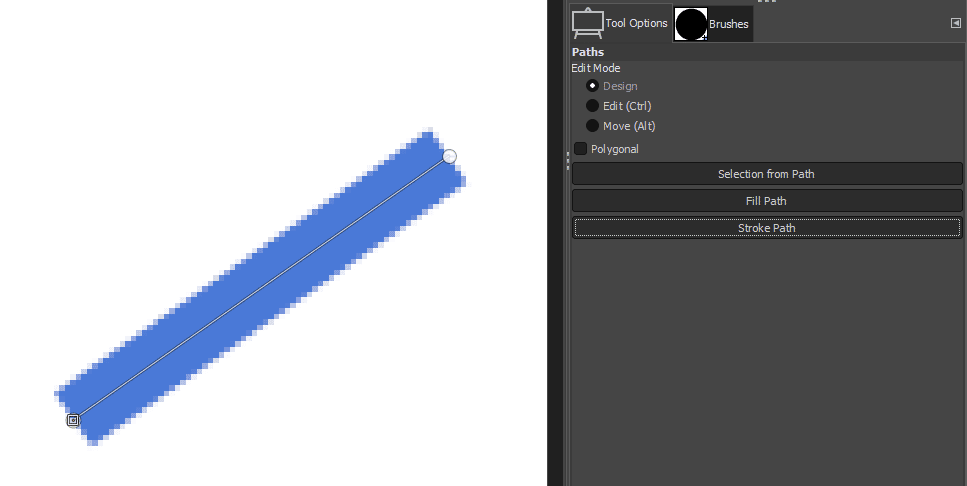
The Paths Tool can also create or draw a line even though it's not strictly a painting tool. Instead of painting, you'll create a path and then stroke that path with paint.
I like using this drawing tool to create a line because it gives me more precision when drawing them. You can style the line too with dots, dashes, straight edge endpoints, and more! Here's how to use the Paths tool…
- Grab the Paths Tool (B) and click once on your canvas to create the first anchor point.
- Move away from that anchor and click again to create a second control point.
- In the Tool Options, click on the "Stroke Path" button.
- Now, in the Stroke Path window, set "Antialiasing" to on (checkmark) and set the "Line width:" according to what you need.
- To finish creating your line, hit the "Stroke" button.
How To Create a Dotted Line In GIMP
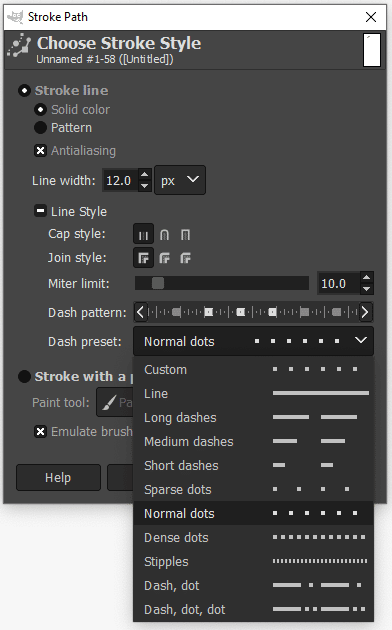
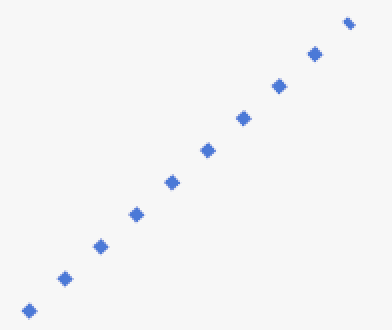
Creating a dotted or dashed line with GIMP is easy with the Paths Tool. In the Stroke Path Dialog window, you can adjust the line's style via the "Line Style" option. It's located just below the Line Width setting. Click on "Line Style" to expand the styling options.
- Capt Style: this option sets how the endpoint of your line looks - Butt, Round, or Square.
- Join Style: if you're creating multiple lines at different angles, this will style how they are joined - Miter, Round, or Bevel.
- Miter Limit: this option will convert a mitered join to a beveled join if the miter extends to a distance of more than the miter-limit line-width from the actual join point.
- Dash Pattern: this allows you to create a custom dash pattern.
- Dash Preset: this will provide you with numerous premade dash and dot patterns to choose from.
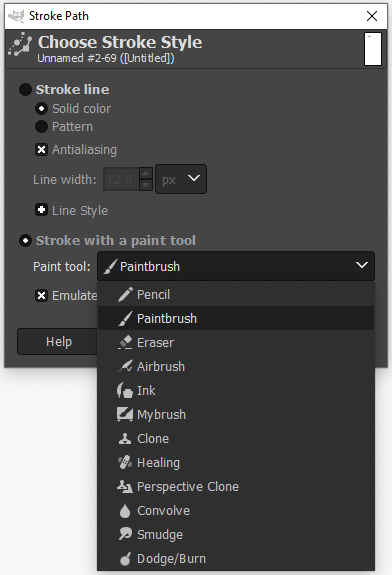
Let's not overlook the "Stroke with a paint tool" option. From here, you can choose a paint device of your choice. You can make some creative line effects with any one of these options.
My drawing tool of choice is the Paintbrush. I'll then select a custom brush vs. a round one. Don't forget to turn on "Emulate brush dynamics" for replicating the custom Paintbrushes built in features.
How To Create a Curved Line With GIMP

A straight line is cool. But a curved line is more fun!
Creating a curved line with GIMP is accomplished with the Paths Tool. Making a curved line involves adding two anchor points as before. This time, though, click and drag your mouse while holding down the mouse button for the second endpoint. As you do, the path will begin to bend!
After releasing your mouse button, you'll be left with two handles. One can be used for rebending the curve if needed. The other handle works as a guide to create a straight line (if you desire). Once your curve is perfected, stroke it as you did before.
Now What?
Has your journey with GIMP just begun? Or have you been using it for a while?
Either way, if you'd like to improve your GIMP skills, check out my free tutorials.
Or if you're looking for a more structured environment with private virtual classrooms, forums and have your questions answered (by me) then, check out my premium tutorials.
Like this article? If so, please share!
How to Draw a Line in Gimp on Mac
Source: https://parkerphotographic.com/how-to-draw-straight-lines-in-gimp/
0 Response to "How to Draw a Line in Gimp on Mac"
Post a Comment